THE PROCESS
Tips and tools on how you can build your own dioramas.
Any questions? email me!
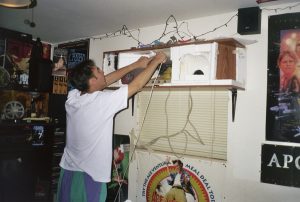
17 Year old Jackorama 1998. Building Jabba’s Palace (Private Collection)
GREETINGS FELLOW BUILDER!
I put this page together to help guide you along with the basic tools and steps to create your own dioramas.
I can’t give you every single step of the way or even show you how to create every single surface but what I can do is set you on your own path with the right tools to get your work done.
Below is a list of essential items you need along with a suggested link on AMAZON and other stores.
(I am not endorsed by any of these products. These are simply suggestions; you chose to buy whatever you like)
Here is a VIDEO TOUR of the Studio, Workbench, Building area!
!!!PLEASE USE CAUTION WHILE USING POWER TOOLS!!!
!!!IF UNDER 18 PLEASE SHOW THIS TO YOUR PARENTS!!!
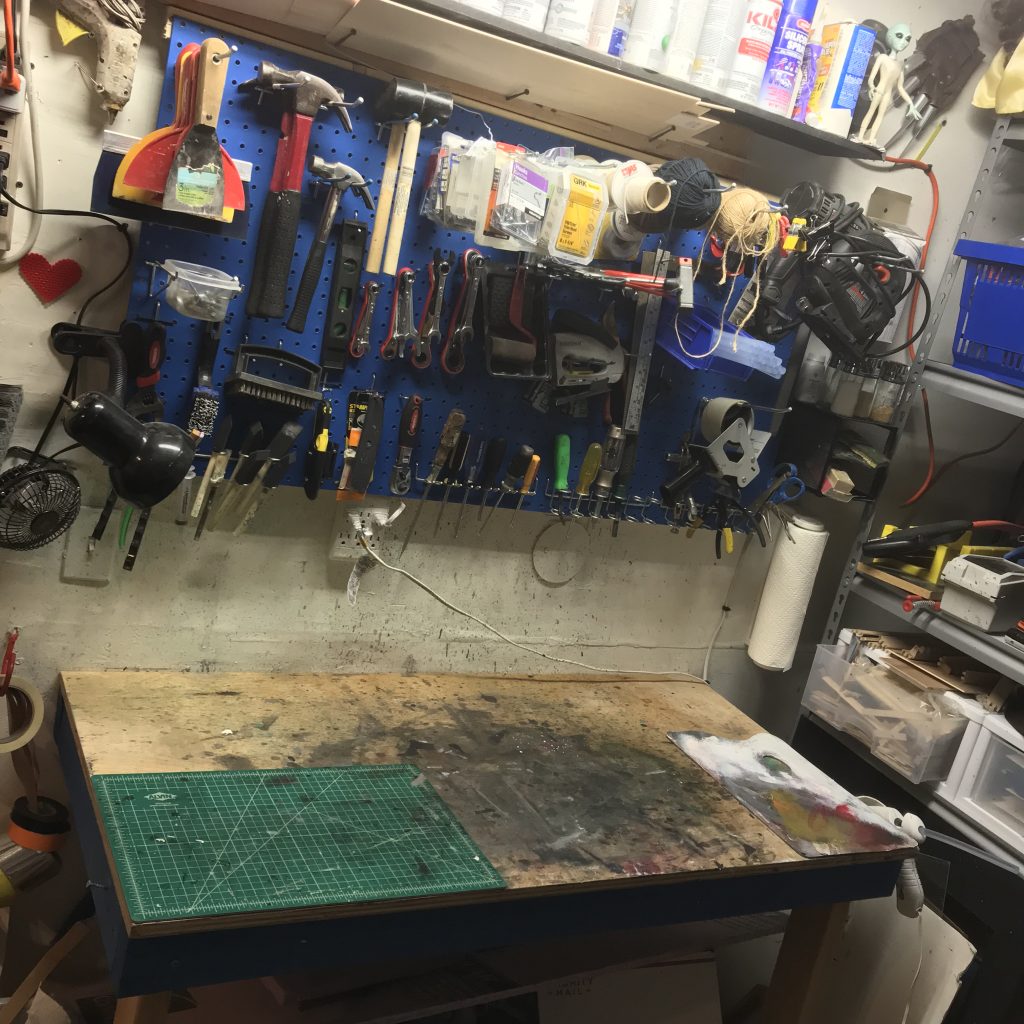
#1 The Workspace
I like a clean and organized workspace, it’s easier for me to get things done that way. It’s not a very big area but just right for me. It’s a table that is 4×2 ft. Built into the wall and made of wood. Its 3 ft. above the ground so it works like a counter top, I work mostly standing up but for detail painting and small things I have a stool. I also have a wall mounted pegboard to keep most of my tools easy to reach and a shelf above it for all the spray paint cans.
#2 The Shelving
I have 2 large shelves. One for storage of finished product and the other for tools and construction supplies.
#3 The Toys
Let the toys inspire you. What diorama do you want to make? From a movie? What scene? Always use the toy for reference and to measure what scale you are working on.
Where to buy your toys?
- If you’re in the Los Angeles Area? 3D Retro in Glendale. Great people can get you almost any toy at a great price and if they don’t have it they will know how to get it! talk to Ben or Justin.
- eBay, Amazon and groups on FB were you can trade or post what you need and buy direct.
- Swap Meets and Flea Markets.
#4 The Planning
First I look at the figure and what scene I want to put that figure in. I cut the wood to the size I want it and put the wood together with screws. I often draw with pencil right on the wood itself and measure what will go where, if you are just beginning I suggest using graph paper to design and measure your walls and landscapes with precise planning. It will make things a lot easier.
- Graph Paper.
- Pencils, Pens, Markers.
- Carpenter’s Ruler.
- Regular Ruler.
- Yard Stick.
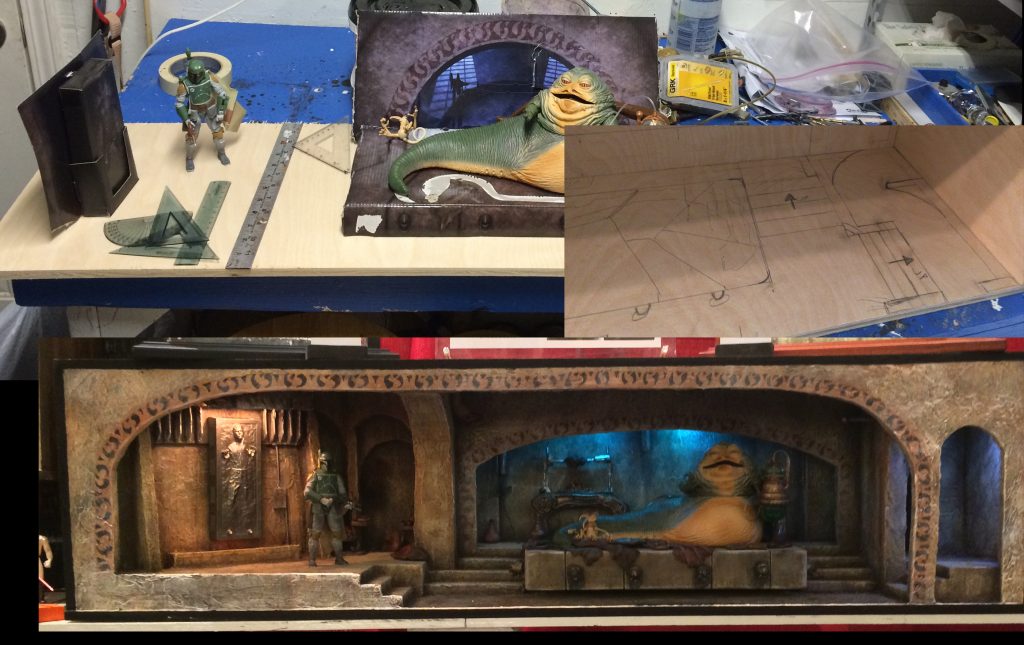
Planing the toys, sketching the measurements, final product.
#5 The Tools
You will need to have some basic knowledge of wood working if not there are books and YouTube videos. Here are the heavy duty tools you will need first to get the frame work started. Always pre drill the holes the screws will go into.
- Safety First!
- A Jigsaw. (For cutting wood) –
- Power Drill. (This is the one I have, you can replace the attachments and have a jigsaw and sander attach to it as well. Everything in one)
- Wood. – Any Piece of wood will work from Home Depot or Lowe’s (NO Plywood) Ask the sales person what would be a good smooth wood you can cut with a jigsaw at home and wont warp. Often times they will cut the wood there for you.
- Screws. (meant for that wood)
- Drill Bit Set.
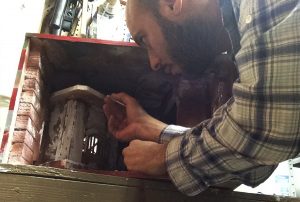
Carving the “Nightmare on Elm Street” Diorama
#6 The Build
Ok you have your work space and you have your diorama wood frame or base built and put together and ready to go, You may build using cardboard, foam core board, matte board, balsa wood, Any type of Styrofoam works ok but pink insulation foam from Home Depot is best. You will transfer your design from the graph paper or the wood measurements onto your material and cut it very gently with an xacto knife
#7 The Gluing
You have cut your raw materials to size and have built some nice walls, you can carve bricks or rocks with your exacto knife and glue it all together.
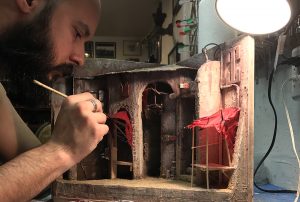
Painting the “Rogue One” Diorama
#8 The Paint
After all of the foam, wood, cardboard and matte board is glued on you need to paint it. If you want to add texture you can mix plaster, water, glue, sand. Mix it all together and get creative. I do have a plaster secret recipe I have used for years and like Colonel Sanders it stays a secret!
You can also just paint right on the materials.
WARNING! Never spray paint Styrofoam! (Unless you want that look)
I use Acrylic paints. Sometimes other elements get mixed in like gel medium, alcohol, water. I never paint with airbrush; I feel like I have more control with the brush. Different sizes for different scales and different jobs.
#9 The Care
You have your diorama built or you may have already bought one from me. how do you take care of it? DUST is your enemy! all you need is a Compressed Air Duster can (Sold at Office Depot or pretty much any where) it is used to clean those hard to reach places like dust off your keyboard and such things. A light spray here and there on the surface of your diorama is all you need every once in a while. NEVER HOLD IT UPSIDE DOWN. the air comes out frozen and can damage your diorama. other than that? maybe a soft paint brush to dust off the figures and thats it!
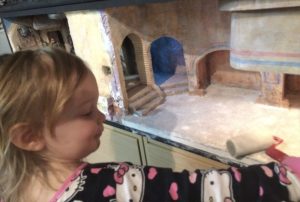
My Baby Vivian helping her daddy paint The Cantina
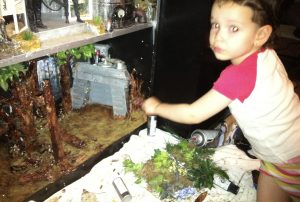
My baby Athena helping her daddy paint ENDOR